Home / Chart Gallery / Chakra Dowsing Charts
Chakra Balancing Crystals Pendulum Chart
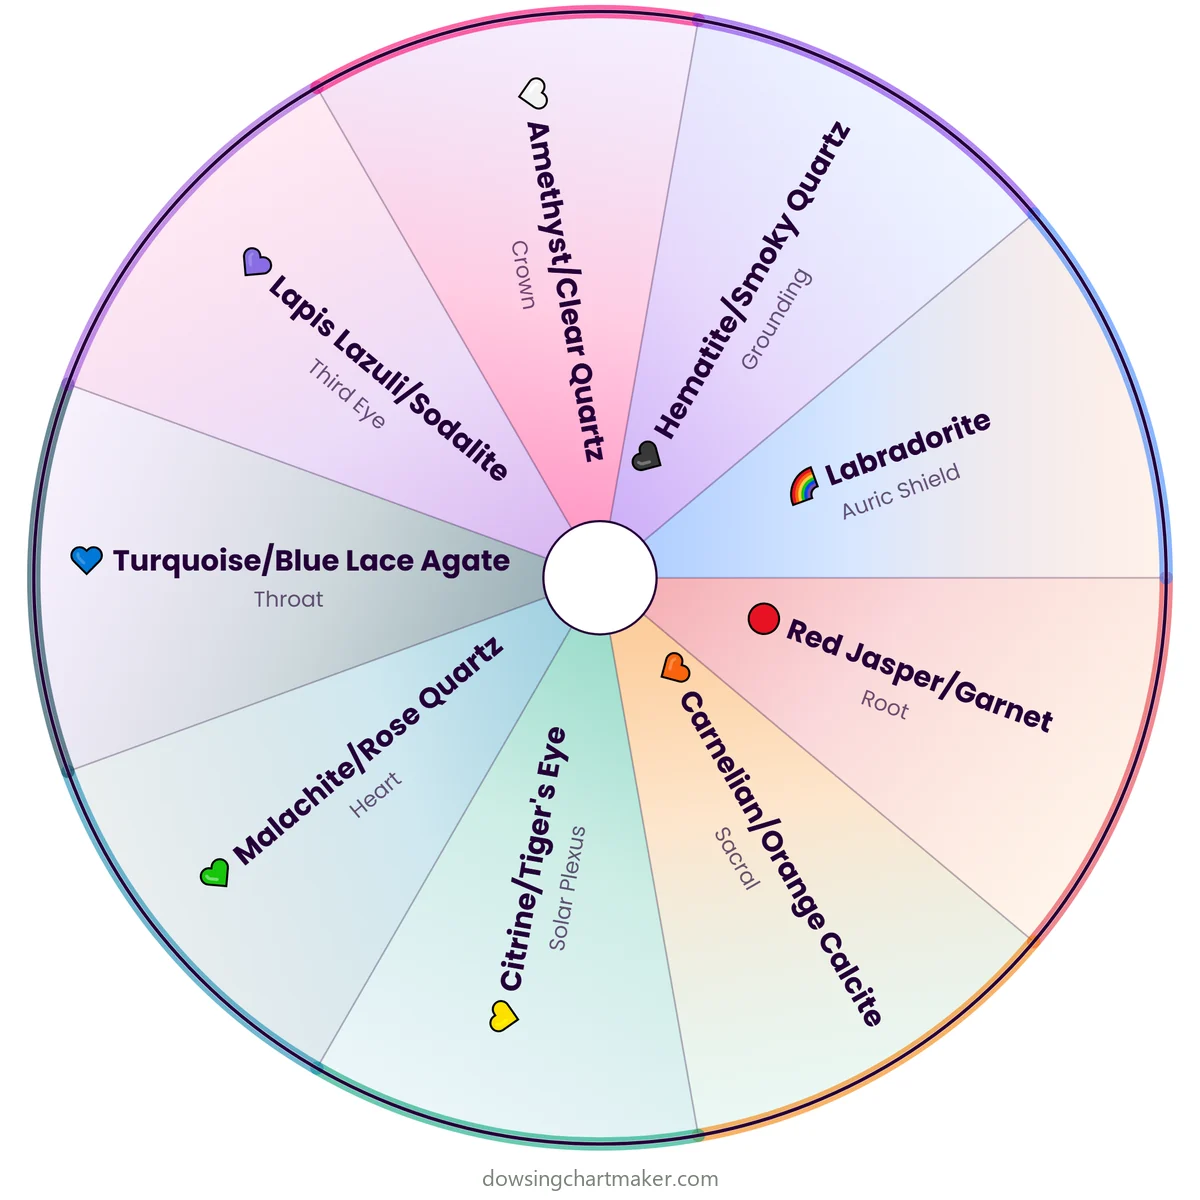
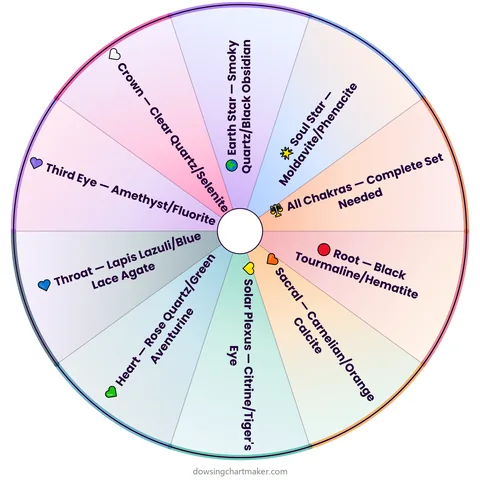
Matches each chakra with its traditional crystals, for example Red Jasper or Garnet for the Root and Amethyst or Clear Quartz for the Crown. Dowse which stone pairing suits you now.
What is on this chart
This chart has 9 sections, listed here so you can read them without the image:
| Section | Meaning |
|---|---|
| 🔴 Red Jasper/Garnet | Root |
| 🧡 Carnelian/Orange Calcite | Sacral |
| 💛 Citrine/Tiger's Eye | Solar Plexus |
| 💚 Malachite/Rose Quartz | Heart |
| 💙 Turquoise/Blue Lace Agate | Throat |
| 💜 Lapis Lazuli/Sodalite | Third Eye |
| 🤍 Amethyst/Clear Quartz | Crown |
| 🖤 Hematite/Smoky Quartz | Grounding |
| 🌈 Labradorite | Auric Shield |
How to use this pendulum chart
- Open or print the chart and place it flat in front of you, on a table or on a screen.
- Ground yourself, hold your pendulum over the centre and set your intention.
- Ask one clear question, for example “Which crystal pairing supports me today?”
- Let the pendulum swing towards a section and note the answer. Repeat the question to confirm.
- Want different sections, colours or a layout that suits your practice? Edit the chart in the Studio.
Can I change this chart?
Yes. Choose Customize in the Studio to open this chart in the free Dowsing Chart Maker. Rename or reorder the sections, change colours, fonts and layout, add layers, then export as PNG or PDF. No sign-up is needed.
More chakra dowsing charts
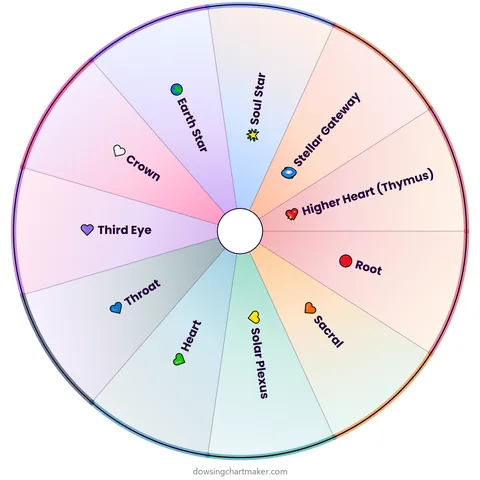 Chakra Pendulum Dowsing Chart (11 Chakras)
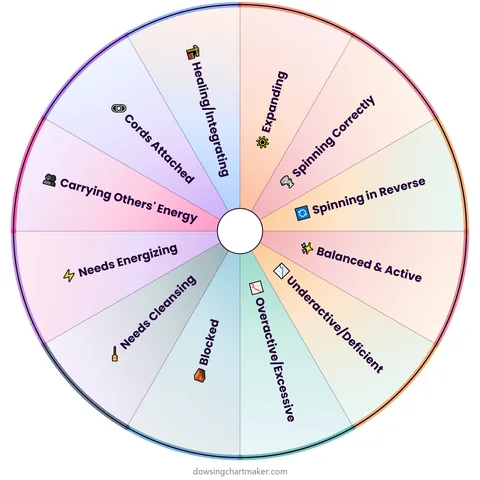 Chakra Condition Pendulum Chart
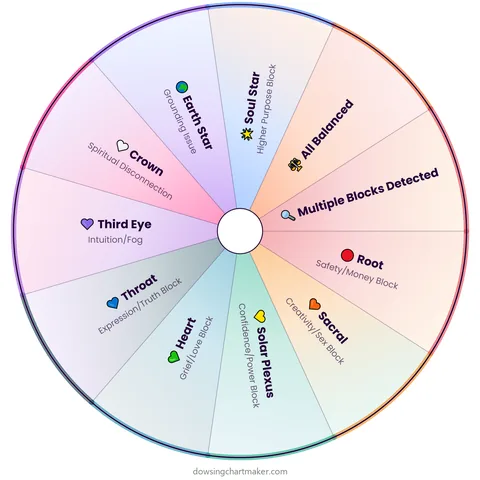 Chakra Blockage Check Dowsing Chart
 Chakra Stone Selection Pendulum Chart
See all chakra dowsing charts → | Browse the full Chart Gallery →